
Main Menu


interior
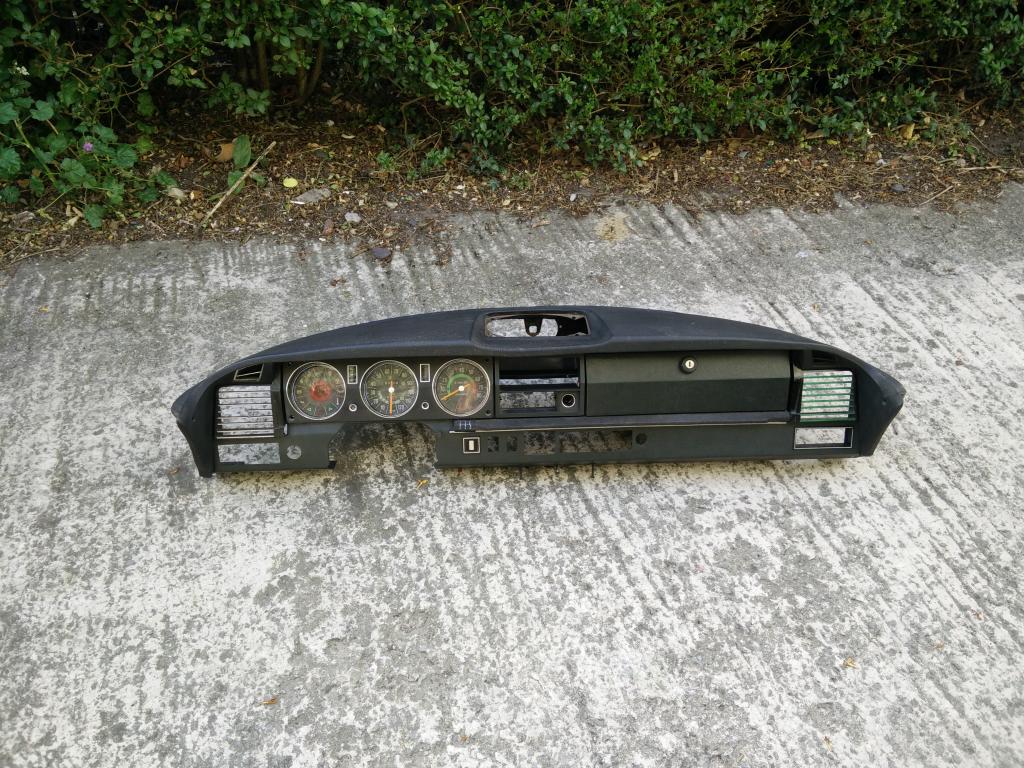
Here is the restored dashboard
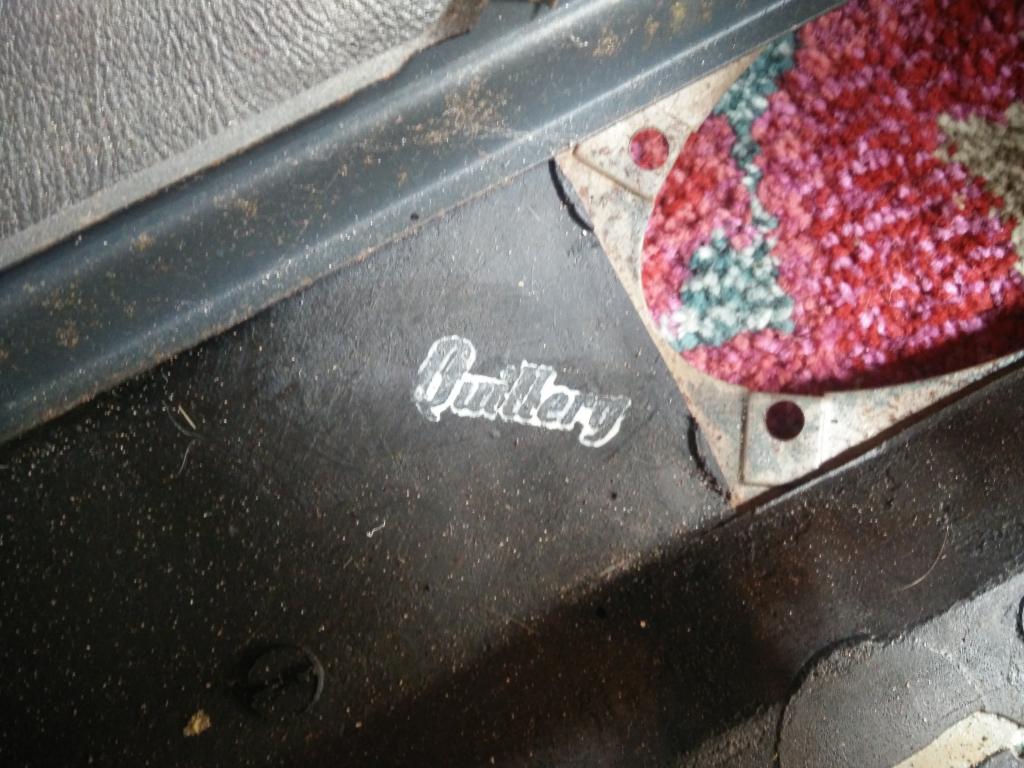
Original makers mark inside of the dashboard

Here you can see the new dashboard paint over the old texture here.
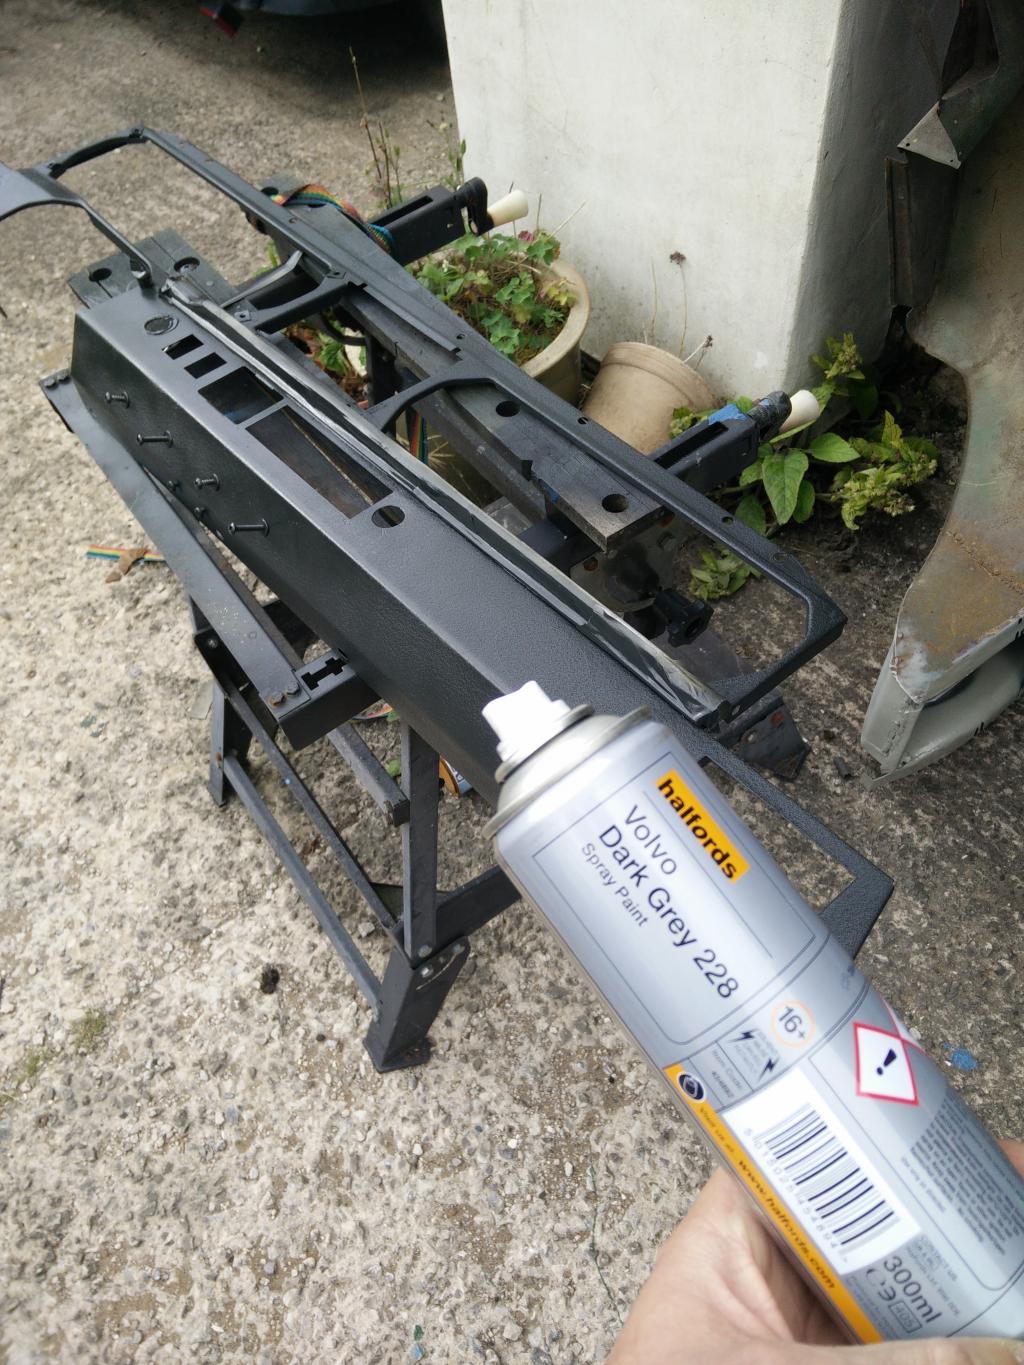
The later dashboards are painted with a textured paint which is difficult to reproduce. Rather than do this I just painted over the top with a dark grey paint - I used a Volvo Dark Grey 228 which turned out to be a pretty good match. This kept the texture but made it look a lot tidier without being over restored.

The dashboard had a lot of wear through the paint
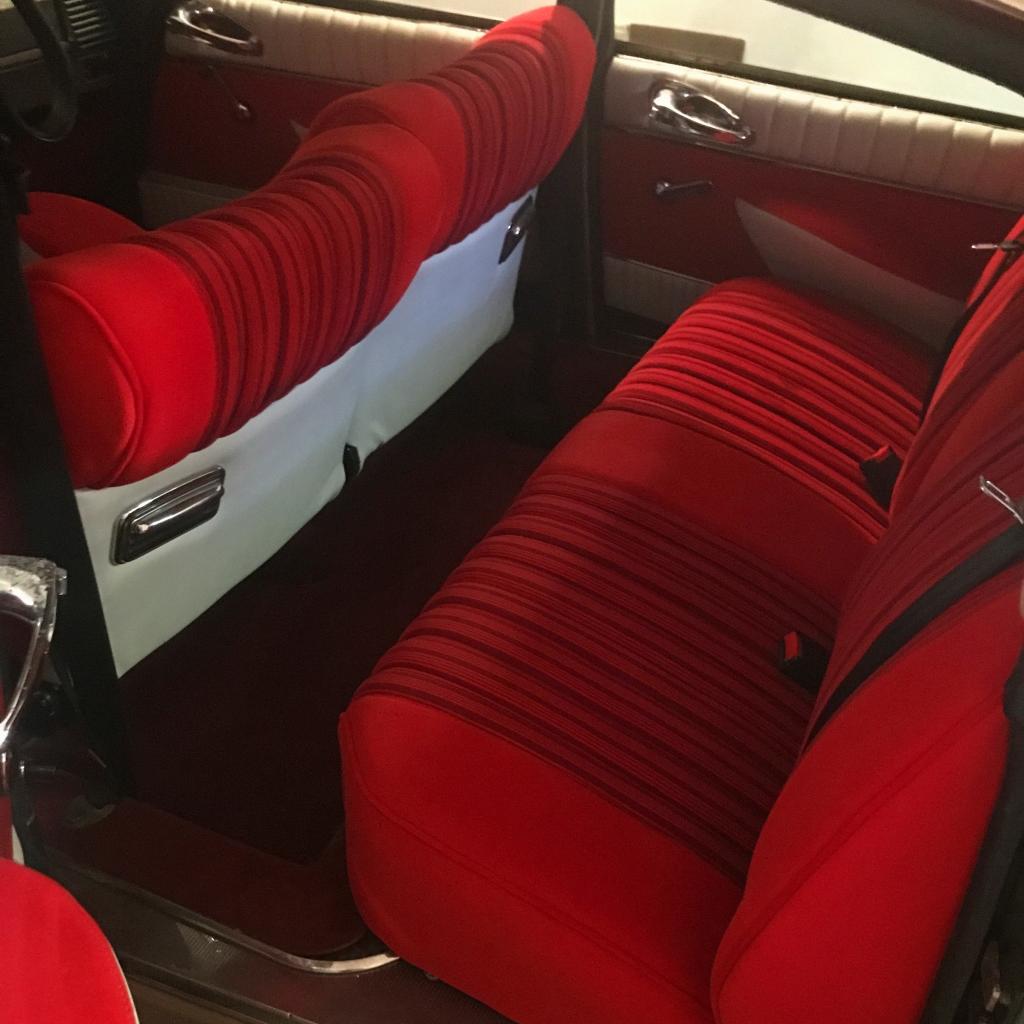
Here is the completed interior

Here are the completed front seats installed in the car.
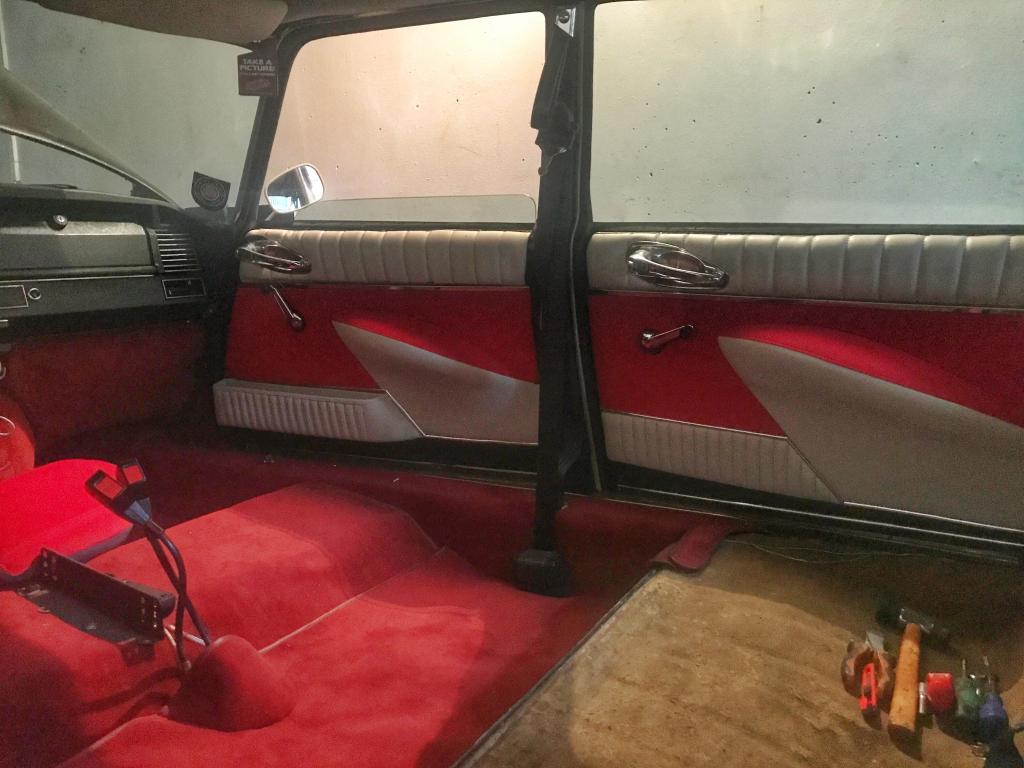
The interior is being fitted here. The hardest part is refitting the inner door handles on top of the Pallas foam. If you have an ID without trim at the top of the door this is much easier!
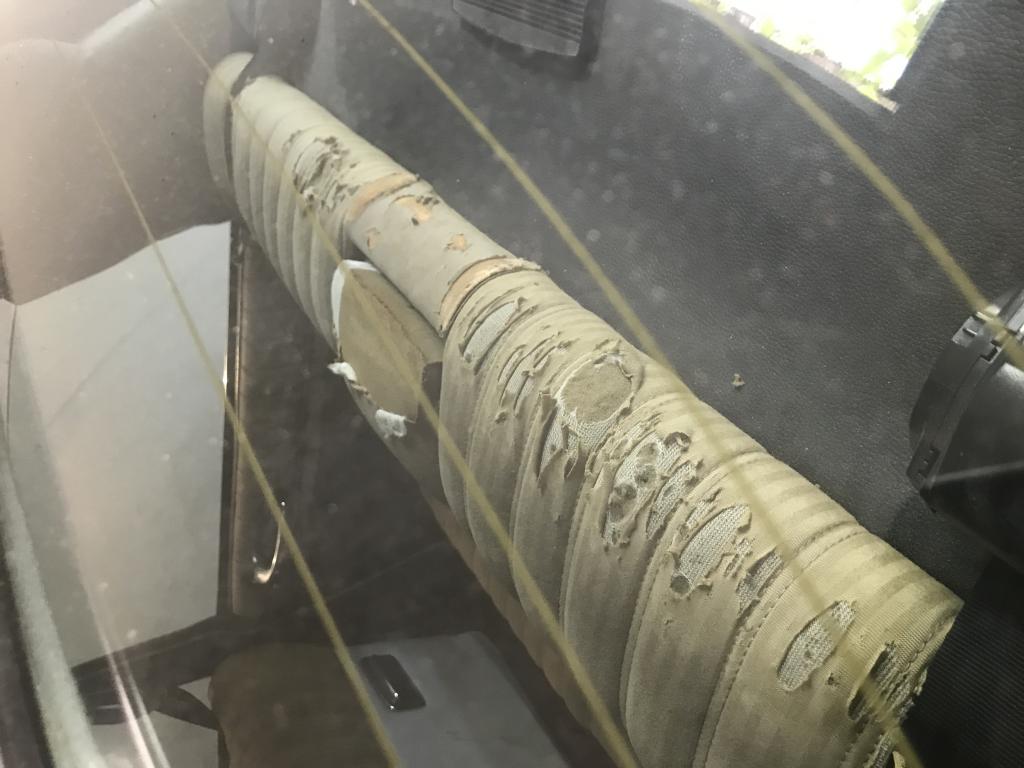
Here you can see the old rear seat with typical sun damage
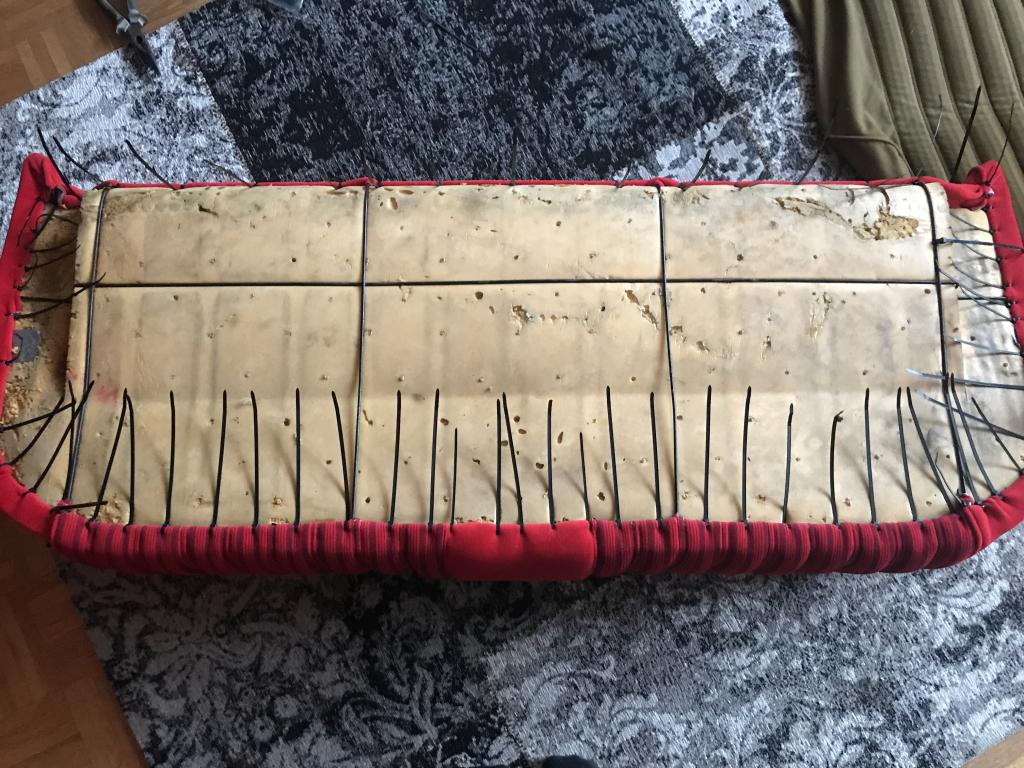
The rear seat covers fit in the same way. To hold all of the covers on I used cable ties rather than hog rings, since they are much easier to work with and easier to repair and replace in the future. This is the underside of the rear bench.
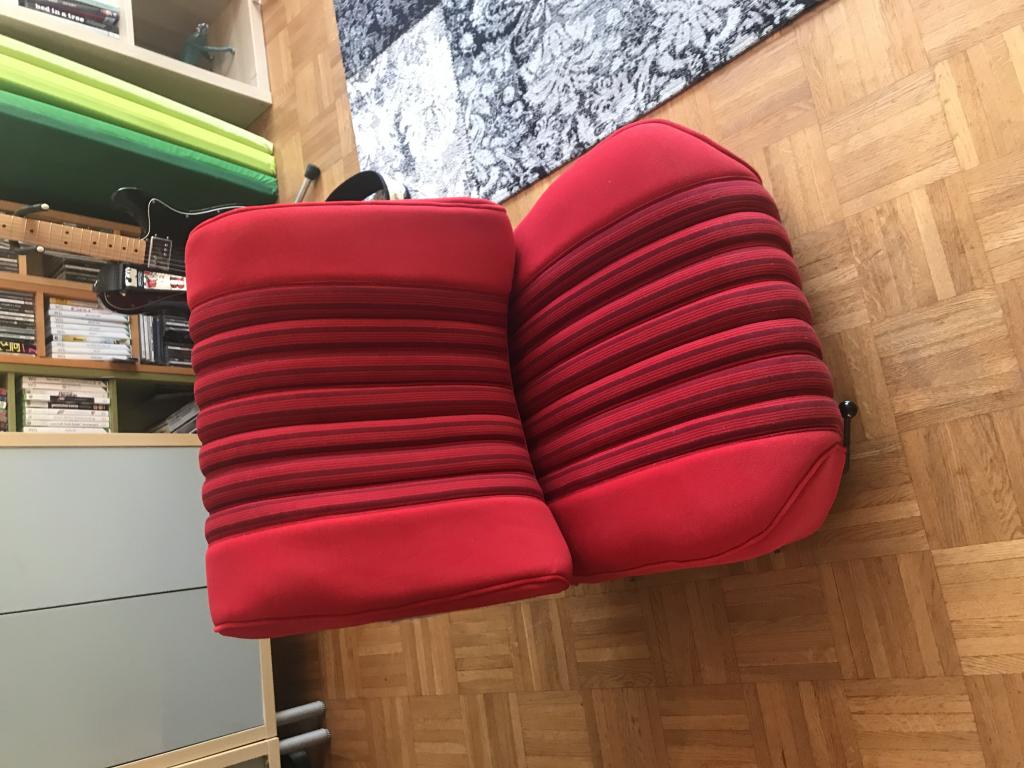
Here is one of the front seats with the new covers fitted.
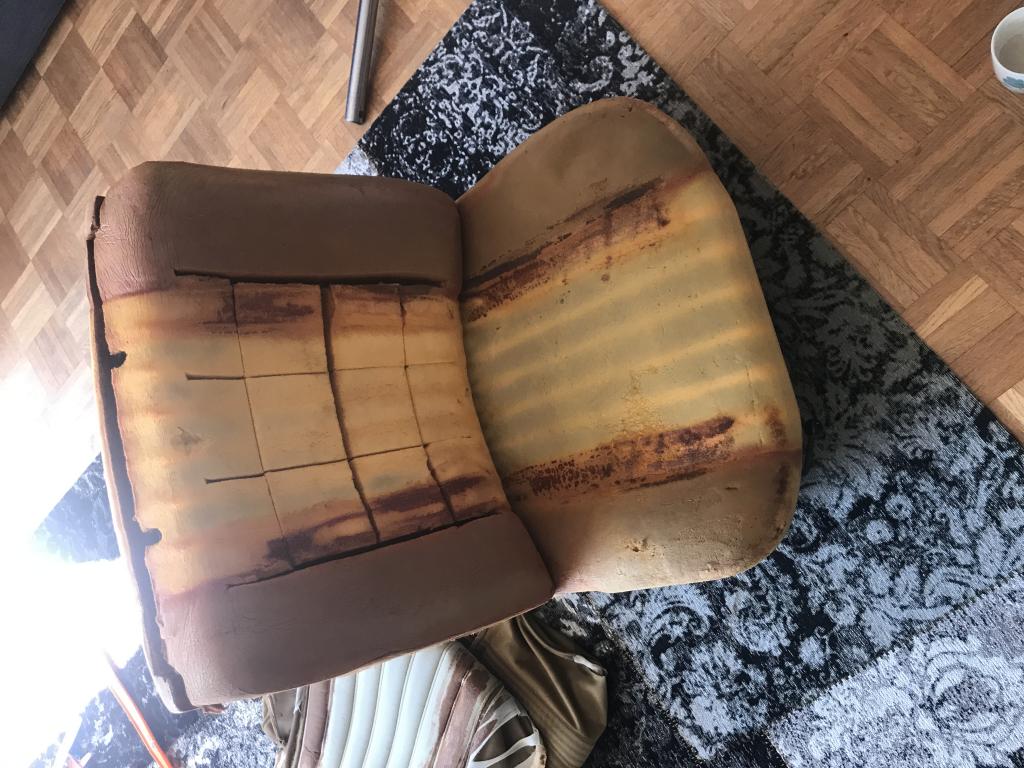
Here I have removed one of the old covers
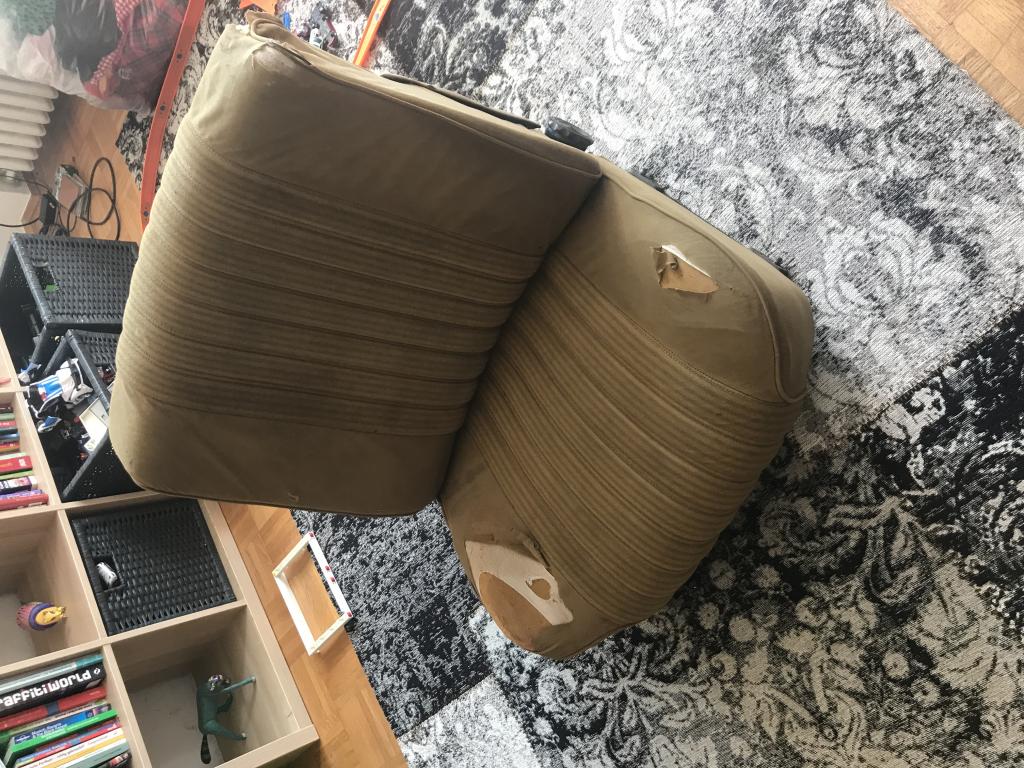
Here is one of the old seats before I recovered it.
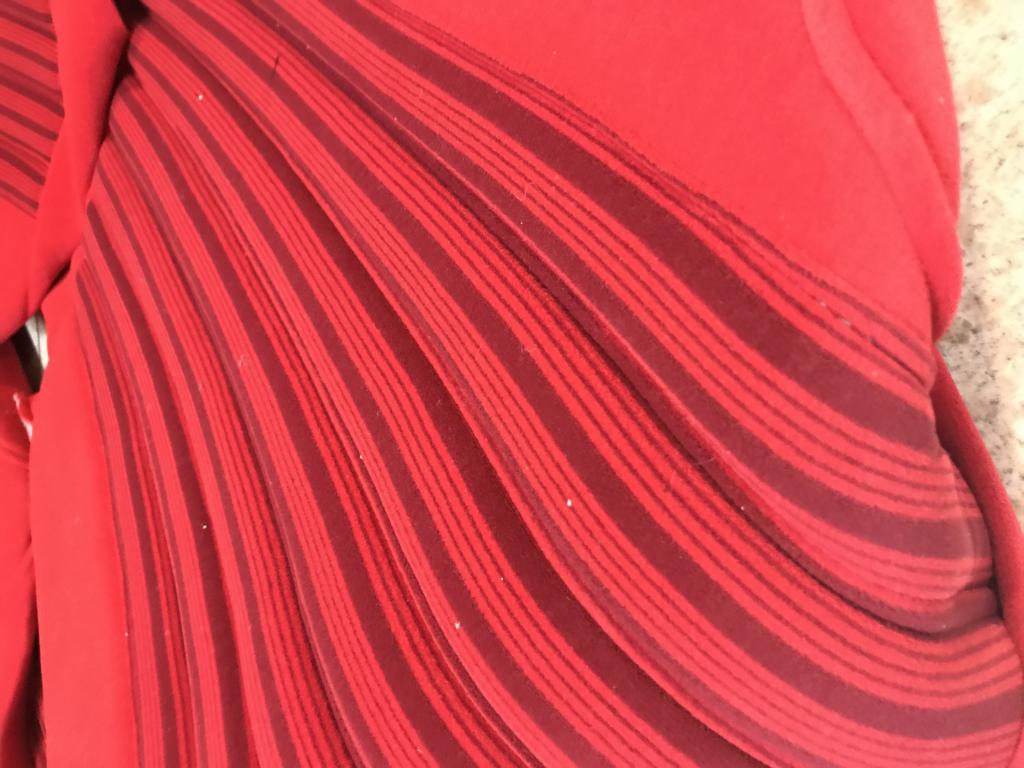
The striping on the new seats is not the same as the striping on the old covers, but it looks really good anyway.
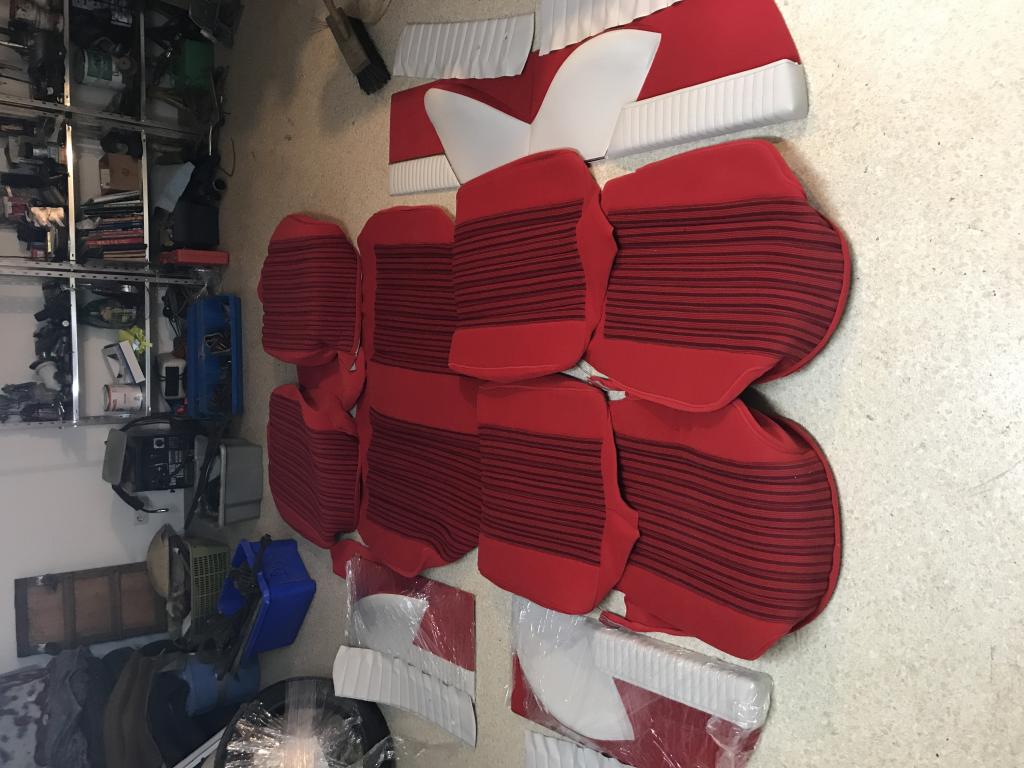
I purchased a complete new interior from Der Franzose, in light red velour.
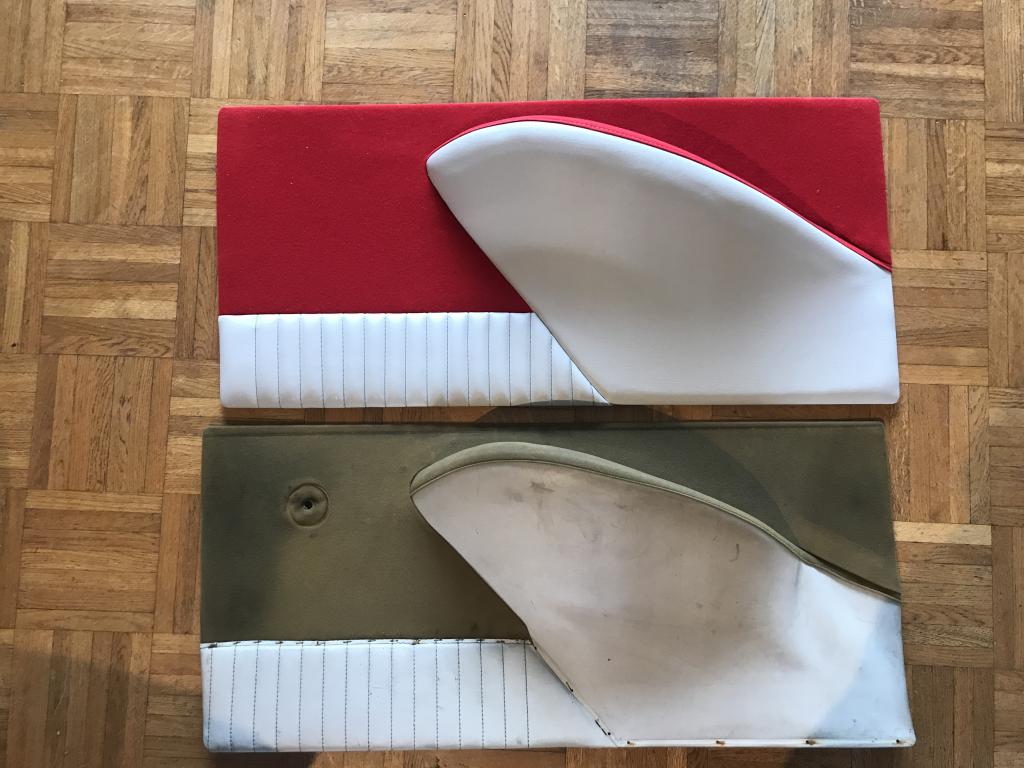
Comparison of the old and new door cards

New floor carpets going in
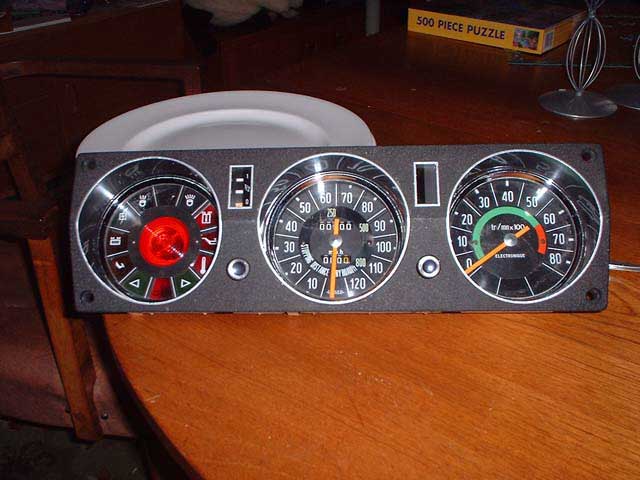
Here is the finsihed item! Zeroed clock and repainted lines around the instruments. I'm very pleased with the finish of this, and it's now going to be wrapped in plastic until I'm ready to refit it to the car.
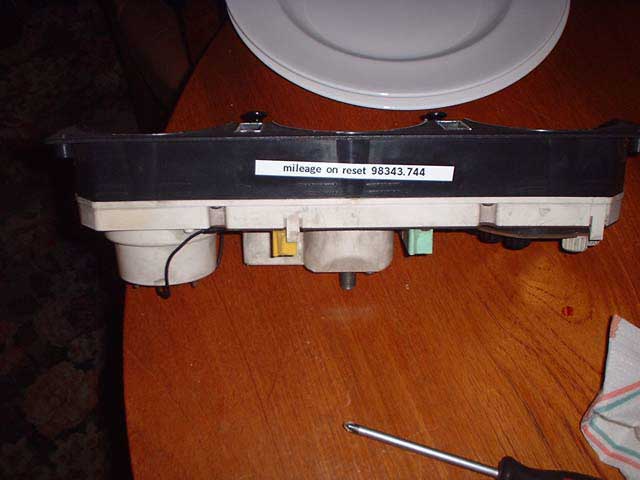
To preserve the history of the car, I've made this sticker which is stuck to the side of the instruments. I'll also document the reset in the car's folder, to let future owners know.
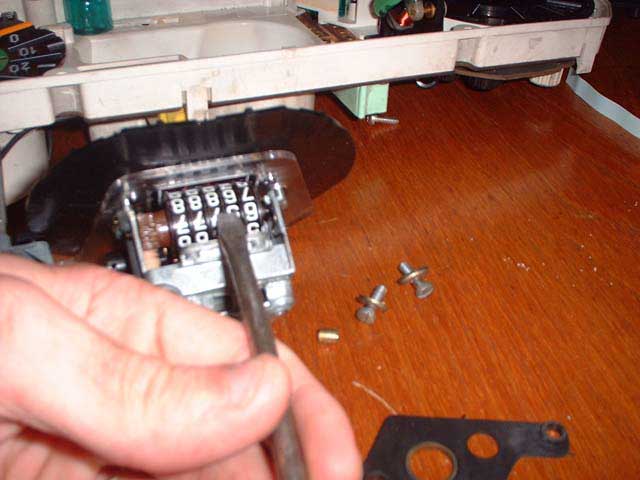
Here I'm pushing the dials around with a flat bladed screwdriver. (Veeerrrrryyyy carefully!!)
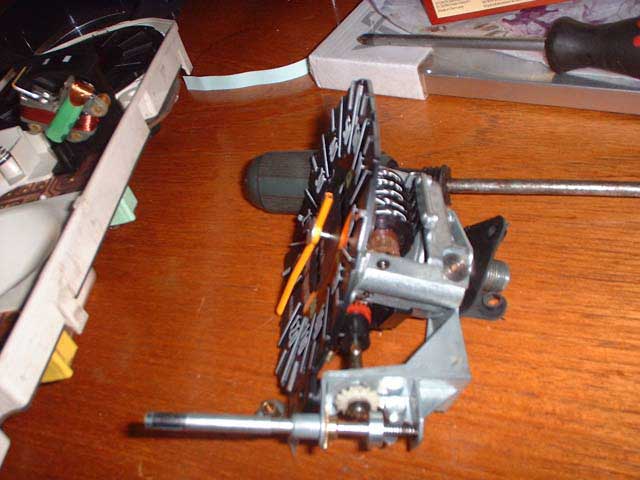
This is the speedo, once it had been removed from the binacle.

After thinking about it and asking a few people, I figured out how to reset the speedo. To do this I removed the instrument and pushed the dials around with a screwdriver. This is the binacle with the front removed.

This is the instrument binacle after I had cleaned it. Note that my car does not have the yello gradient effect behind the braking distance text on the speedo - I think that this was introduced in September 1972. I also have to repaint the silver around the inmstruments, which I plan on doing sometime soon. The mileage reads 98324, I'd like to reset this to zero so that when it's complete I can start from 'new'. If any one knows an easy way of doing this I'd love to hear from you!!
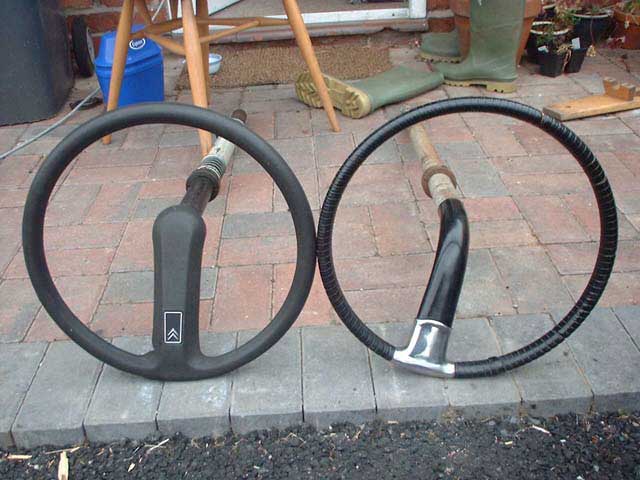
...and here it is after cleaning! Alongside it is the original 'safety' wheel, which has a split along the bottom.
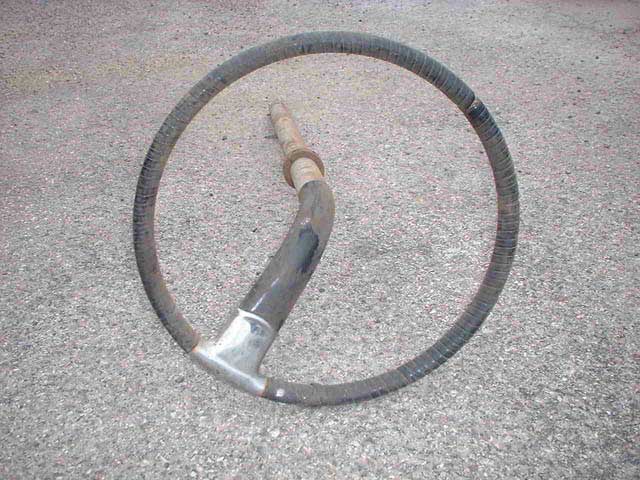
My car is a 1972 DS, which should have the 'safety' style steering wheel fitted (this wheel can be seen in the next picture), however I prefer the older style wheel, and managed to get hold of a decent one, which can be seen here before I cleaned it...
Andy Todd all images and text ©citroen-restoration and may not be reused without permission